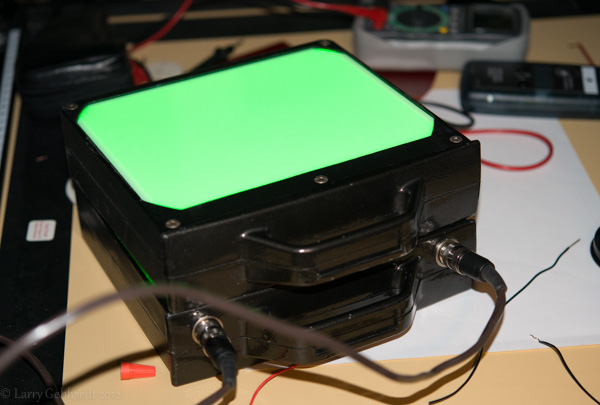
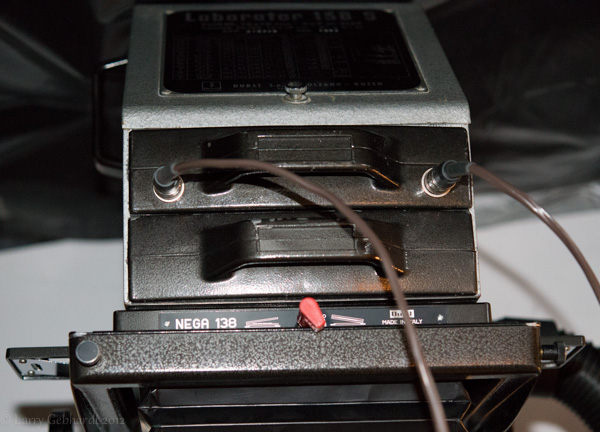
I’ve been slowly making progress on the VC LED head. I choose to tackle this as two separate steps; the head and the controller. What you see here are the two pieces of the head resting on the baseboard of my Durst 138S. I choose this configuration to allow me to quickly switch from this diffusion light source back to the original condenser head. What I did was take two scratched condensers and removed the glass. One was a 240mm and I used it for the top part (bottom in the picture). Into this I drilled two holes on the front for 6pin Din connectors. On the inside I mounted a sheet of 1/4″ aluminum for a heat sink and support for the LEDs. This is held in place by the original Durst screws and some aluminum tubing over them cut to fit snuggly. In the other condenser shell I mounted a piece of 1/8″ translucent white plexiglass, which is held in place with white foam core around the edges. First I needed to cut some of the metal from shell since this was for a smaller 130mm condenser. A metal blad in a jig saw made quick work of this since the shells are aluminum.
The LEDs are Cree XP-E Green for the soft light and Cree XT-E Royal Blue for the hard light. There are 12 of each arranged in two banks. This arrangement was chosen based on the capabilities of the controllers I am using. I originally was going to go with a Mean Well 60-48D which could drive all 12 LEDs in each bank, but I found it didn’t dim quickly enough to allow the dimming feature to turn the lights on and off. After a bit of research I settled on using A009-D-V-1000 BuckBlocks, which offer a lot of options for control, and respond instantly to dimming commands. The only issue is they don’t have enough forward voltage to drive more than 6 or 7 of these high power LEDs.
I was originally only going to have one cable to feed power to the head, but I found out the hard way that each BuckBlock must have it’s own ground wire along with hot wire, so my 6pin Din connectors don’t have enough pins for all the needed wires. For reference when I hooked two of the controllers up with the negative wire as common when one was dimmed the excess current is fed into the other bank of LEDs. When I checked 2A were flowing through my 6 green LEDs (rated for 1A maximum). They still work, but I do wonder how much of their life I used up in the minute or two it took to figure out what was going on.
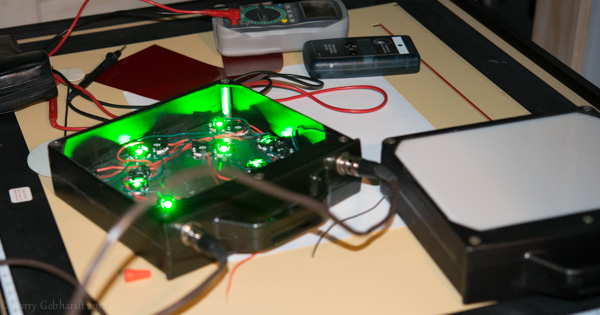
Right now they are hooked up a bank of 4 10K potentiometers. This allows me to adjust the brightness of each bank for testing purposes. The head is even to less than 1/3 of a stop across most of the surface. The very corners are about 1/3 stop dimmer than the rest. Given the arrangement of the LEDs I can adjust (in software) to bring the far edges and corners up in relation to the center. Doing this gets me a very even light source. On the baseboard (factoring in lens falloff) it’s even to about 1/5 of a stop. I might be able to tweak this more, but it’s better than any of my other enlargers, though I haven’t made any prints with it yet.
I think I may want to get some right angle connectors for the cables. I’d also like to get a more flexible wire for the cords. But other than that I am pretty happy with this first phase of the project.
I have also been experimenting with the Arduino based controller for all of this. The BuckBlocks can be controlled with a PWM signal and a simple 2N2222 transistor (see their data sheet for wiring diagram). This should make wiring up the system fairly easy. They also respond instantly this way from off then to fairly dim up to full brightness.
I’m still working on the software and board design, but I’ve checked a preliminary version of the controller code into GitHub. This is based on William Brodie-Tyrrell’s F/Stop Timer. This is very preliminary, but I’m trying to get it working in both a split grade and integrated mode. Feel free to fork the code and send me a pull request if you want to add a cool feature.


